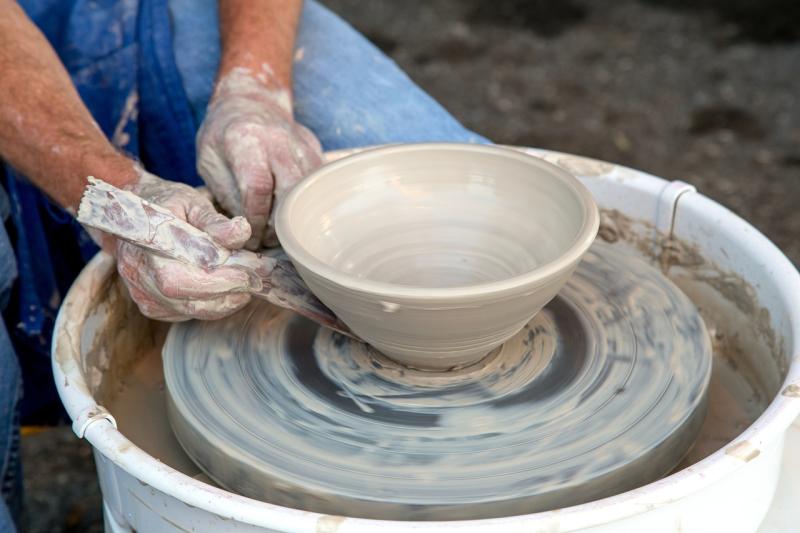
Getting started with resin art is easier than you might think! If you’ve ever wanted to dabble in something creative that allows you to explore colors and textures, resin is the way to go. The beauty of resin art lies in its versatility. From coasters to stunning wall art, your imagination can truly run wild!
Before you dive in, you’ll need a few basic supplies. Grab some epoxy resin, hardener, mixing cups, and stir sticks. Don't forget gloves to protect your hands and a well-ventilated workspace for safety. If you want to add some flair, think about picking up glitter, pigments, or even dried flowers. These little details can take your projects to the next level!
Starting with small projects is a smart move. Try making keychains or coasters to build your confidence. Mix your resin according to the instructions, add your colorants, and pour it into your molds. Watch the magic happen as the resin cures, transforming into a glossy, beautiful finish. Just remember to follow the instructions—getting the mix right is key to avoiding bubbles or incomplete curing.
As you get the hang of it, don’t be afraid to experiment! Play with different color combinations or layering techniques. Resin art is all about creativity, so let yourself have fun. Share your finished pieces with friends or on social media for some extra encouragement. Before you know it, you’ll be well on your way to creating stunning resin art!
Essential Tools for Resin Art
Getting into resin art is super exciting, but having the right tools makes it even better. Here’s a list of the essential gear you’ll need to kick off your resin art journey. Trust me, it’ll make the process smoother and a lot more enjoyable!
1. Resin KitFirst up, you need a good quality resin kit. Look for one that includes both the resin and the hardener. Some kits even come with measuring cups and mixing sticks. You want something that cures clear and is easy to work with. Check the reviews, and don’t be shy about trying out a few different brands.
2. Mixing SuppliesMake sure you grab some disposable cups and stirring sticks. You’ll mix resin and colorants in these, so you don’t want to get too fancy. Clear plastic cups work great, and wooden sticks are perfect for mixing. Just keep it simple!
3. Safety GearSafety first! Get yourself some gloves and a mask. Resin can get a bit messy, so gloves help keep your hands clean. A mask is key if you want to avoid breathing in any fumes. Protect yourself while you enjoy the crafting!
4. Colorants and AdditivesDon’t forget about colorants! You can find liquid dyes, pigments, and even glitter to make your pieces pop. Experimenting with these will take your designs to the next level. Think about the vibe you want to create and have fun with it!
Basic Techniques for Stunning Projects
Getting started with resin art doesn't have to be intimidating. With a few basic techniques, you can create stunning projects that you're proud to show off or even gift to friends and family. Let's dive into some simple methods that can elevate your artwork.
First up is mixing your resin. You'll want to follow the manufacturer’s instructions carefully. Usually, you’ll mix equal parts of resin and hardener. Make sure to stir slowly to avoid bubbles. A clean, clear mix is the key to a smooth finish! If you want to add color, now’s the time. Use resin pigments or dyes for vibrant effects. Just remember, a little goes a long way!
Next, let’s talk about pouring. Once your resin is mixed and colored, pour it into your mold or onto your canvas. You can layer colors to create depth, or swirl them together for a marbled effect. Don't be afraid to experiment! You can even create shapes by pouring resin into different molds like coasters, trays, or even jewelry.
After pouring, you’ll need to torch or use a heat gun to get rid of pesky bubbles. Just a quick pass over the surface will help pop those bubbles and give you a smooth finish. Be cautious not to overheat, as that can ruin your piece. Let your artwork cure according to the resin instructions, usually around 24 hours, and try to keep it dust-free during this time.
Finally, once your resin is set, you can finish the edges if needed and apply any topcoats for an extra shine. Sanding down rough edges can give your piece a polished look. Remember, the more you practice, the better you'll get at these techniques. Get ready to enjoy the creative process and watch your ideas come to life!
Tips for Success in Resin Art
Getting started with resin art can feel a bit overwhelming, but it’s all about having the right approach. Here are some tips to help you succeed from the start.
First, always read the instructions on your resin kit. Each brand can be a little different, so it’s smart to know exactly what you’re working with. Measure your resin and hardener accurately to get the best results. If the mixture is off, your art may not cure properly.
Preparation is key! Set up your workspace by covering surfaces with plastic or newspaper to catch any spills. Wear gloves to protect your skin and a mask if you’re working in a small space. It’s all about keeping things tidy and safe.
When you start pouring, take your time. Work in layers if you want to create depth. Start with a base layer and let it cure a bit before adding more. This will keep your colors from mixing too much and help you achieve those beautiful effects.
Lastly, don’t be afraid to experiment. Try different colors, textures, and techniques. Not everything will be perfect, and that’s totally okay! Each piece you create is a learning experience that can help you hone your skills.